


参考资料https://connect.unity.com/p/ml-agent-huan-jing-da-jian-zhi-nan-lai-shi-shi-ji-qi-xue-xi-ba
使用 Miniconda 来安装 ML-Agent 工具包
什么是 conda ?
conda是一个开源包管理系统和环境管理系统,用于安装多个版本的软件包及其依赖关系,并在它们之间轻松切换。 它适用于Linux,OS X和Windows,是为Python程序创建的,但可以打包和分发任何软件。
Anaconda是一个开源的Python发行版本,包含了许多的科学包以及这些包的开发工具、依赖环境等,所以他的体积比较大下载起来也比较麻烦。我们要不到那么多功能所以这里选着了 Miniconda,你可以把他当作 Anaconda 的精简版只包含了 conda 和 python 的一些基础包。
安装 Mniconda
你可以在这里下载它:
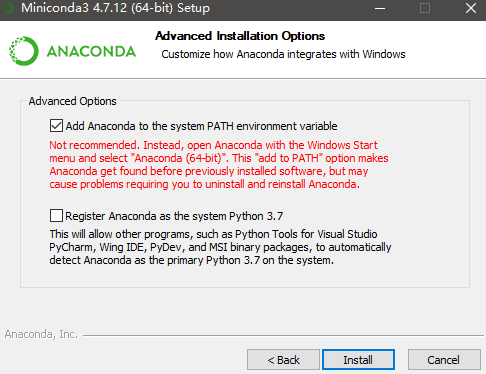
根据你的系统来下载相对应的 Python 3.7 版本的 Miniconda,下载好后启动安装程序记得要在这一步勾选第一项。
安装完成以后在终端中输入指令查看是否安装成功:
conda -V

安装成功后输入显示版本号
然后创建一个新的环境用来开发,-n 后面是这个环境的名字,后面是python的版本这里官方建议使用3.6:
conda create -n ml-agents python=3.6
注意:这里一定要 python=3.6 , 我用“conda create -n ml-agents python” 后面的步骤就会出问题。
只好回头又重复执行的这个操作。
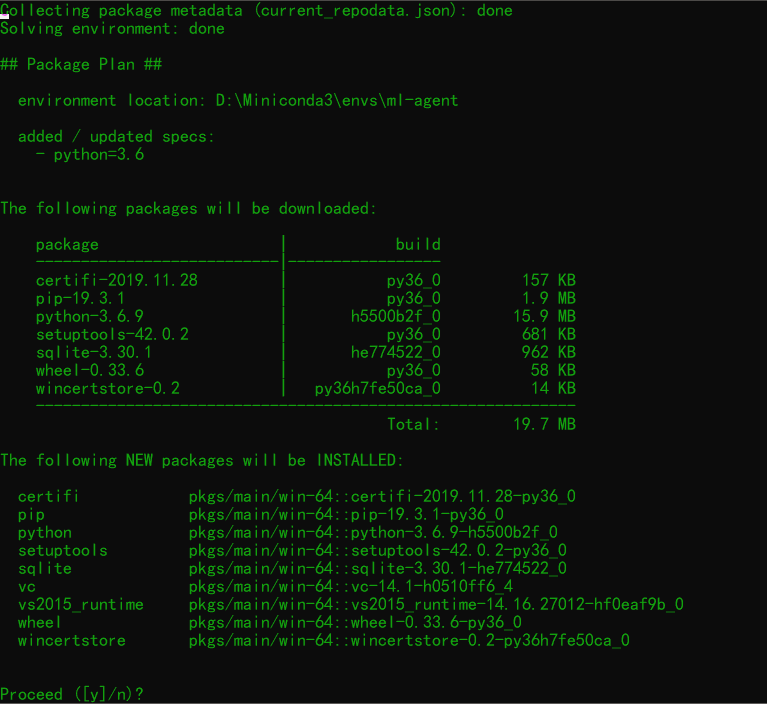
输入 y 等待安装结束,这些包没多大一般情况一分钟左右安装结束。如果你一直卡着没动考虑一下科学上网方式。
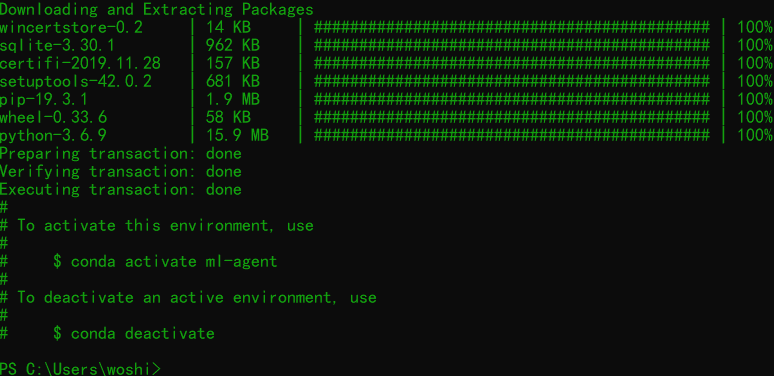
安装结束后可以看到他提示你激活这个环境,我们根据提示激活环境:( PowerShell 不能兼容,这里需要用Cmd输入 )
conda activate ml-agent
如果想要退出可以输入:
conda deactivate
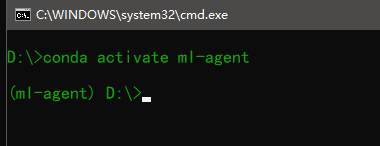
激活成功以后可以看到在前面出现你当前环境的名字 ,我的是 (ml-agent),然后我们开始安装 Unity ML-Agent 的工具包。
先去 GitHub 上下载 ML-Agent :ML-Agents 下载
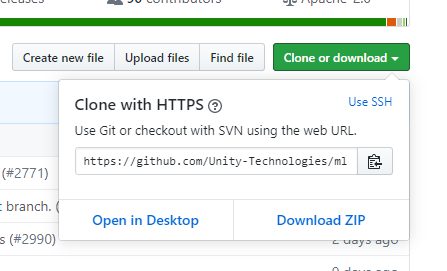
点击下载zip 按钮
点击 Download ZIP ,下载压缩包然后将压缩包解药到你想要的目录下,解压后是这样的:
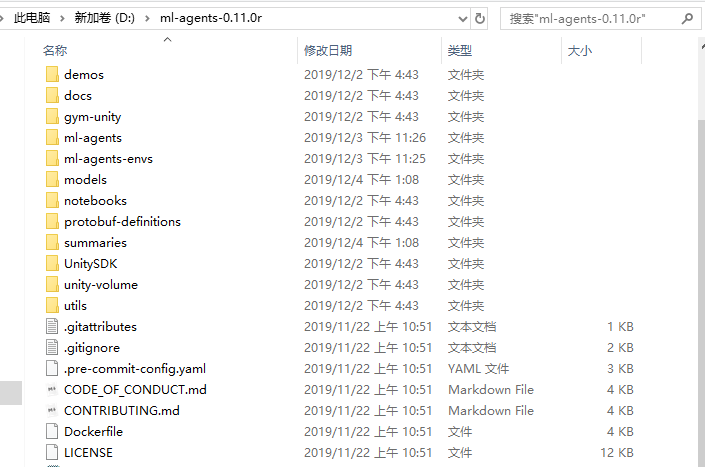
然后在 cmd 中激活我们的环境,使用 cd 命令跳转到你解压文件夹的目录下,输入命令开始安装
这里可以直接输入 pip3 install mlagents 进行安装,下面这种方案更适合修改源代码
pip install -e ml-agents-envs
安装结束后再输入:
pip install -e ml-agents
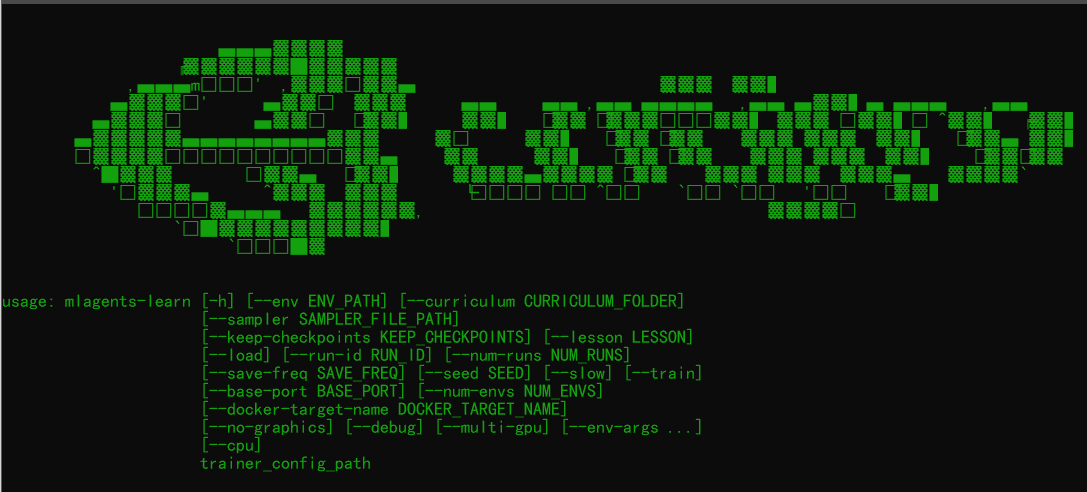
之后经过漫长的等待,我们输入命令测试下时候安装成功:
mlagents-learn --help
然后出现了这个奇奇怪怪的 unity 图标就说明安装完毕 (每次官方都说是显示bug才奇怪,可我就没见过正常的 😆):
到这里我们 Unity 外的工作就全部完成了,很简单吧现在让我们看看在 Unity 中还需要做些什么
注意, https://connect.unity.com/p/ml-agent-huan-jing-da-jian-zhi-nan-lai-shi-shi-ji-qi-xue-xi-ba 这个已经过时了。
我参考的https://github.com/Unity-Technologies/ml-agents/blob/master/docs/Installation.md
Install the com.unity.ml-agents Unity package
The Unity ML-Agents C# SDK is a Unity Package. You can install the com.unity.ml-agents package directly from the Package Manager registry. Please make sure you enable 'Preview Packages' in the 'Advanced' dropdown in order to find it.
NOTE: If you do not see the ML-Agents package listed in the Package Manager please follow the advanced installation instructions below.
Advanced: Local Installation for Development
You can add the local com.unity.ml-agents package (from the repository that you just cloned) to your project by:
- navigating to the menu
Window->Package Manager. - In the package manager window click on the
+button. - Select
Add package from disk... - Navigate into the
com.unity.ml-agentsfolder. - Select the
package.jsonfile.
NOTE: In Unity 2018.4 the + button is on the bottom right of the packages list, and in Unity 2019.3 it's on the top left of the packages list.
If you are going to follow the examples from our documentation, you can open the Project folder in Unity and start tinkering immediately.
试着跑跑demo :
If you haven't already, follow the installation instructions. Afterwards, open the Unity Project that contains all the example environments:
- Launch Unity Hub
- On the Projects dialog, choose the Add option at the top of the window.
- Using the file dialog that opens, locate the
Projectfolder within the ML-Agents Toolkit and click Open. - In the Project window, go to the
Assets/ML-Agents/Examples/3DBall/Scenesfolder and open the3DBallscene file.


 2776
2776


 被折叠的 条评论
为什么被折叠?
被折叠的 条评论
为什么被折叠?
 到【灌水乐园】发言


